Learning Unity 2D Part Two
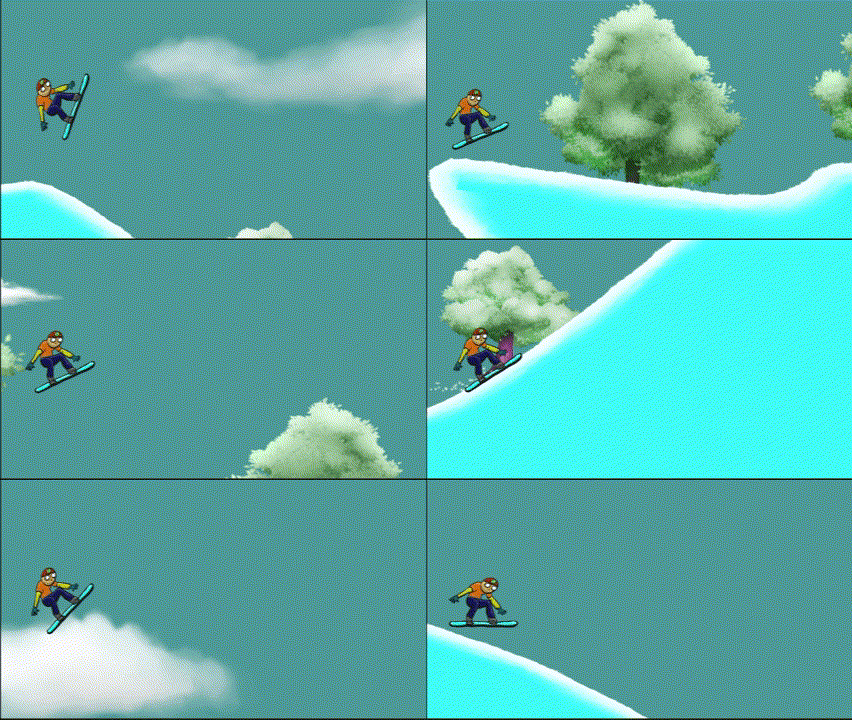
Taking one step further into the 2D Game Development journey I will summarize what I learnt while creating a custom snow boarding game. Scroll till the end to see the results.
Cinemachine
Tired of writing scripts to follow the main character? Use Cinemachine! Very easy open source package created to give the developer power over how the camera works.
Edge Collidors
Edge Colliders are custom colliders for the 2d game objects in unity. There are some inbuit triggers provided by unity like:
1
2
void OnCollisionEnter2D() {}
void OnCollisionExit2D() {}
Collisions are enabled by colliders no need rigid body.
Is your collision detection not happening properly ? Do you think sometimes it works and some times it doesn’t, maybe you have set the collision detection to discrete instead of continous, unity does it to save computation.
Character Modelling
Usually when creating the character it’s good to create separate components for body and head and stuff like that. You can add separate colliders on each and make your code more modular code. Try experimenting the different shapes of the colliders.
When creating games in 2D its usually good to check the Z-values, a lot of time the Z values give issues with the redering of the object.
Surface Effectors
Its a component to add force along the edge/surface of the colliders. Its analogous to the conveyor belt. Play around to find out.
Rigid Body and Torque
If you add Rigid Body to a Game Object then you can play around with the Torque. To learn more about Torque, study physics.
1
    GetComponent<RigidBody2d>().AddTorque(torque);
Its good to have the position and rotation of the child component’s set to zero, relative to the parent. To avoid future issues with rotation and translation of child components.
Sprites and Sprite Shapes:
Sprite are the images in the Unity. If you want to create custom shapes, you can use sprite shapes. Also dont forget to layer the sprites using Order in Layer in the unity inspector. It will help you create render the sprites on top of each other.
One tip to increase and decrease the size of the pizel art is to change the value of Pixel Per Unit for the Sprite
Loading Scenes
The SceneManager is used to Load Scenes in Unity, its part of the UnityEngine.SceneManagement namespace. You can use the name of the scene to load the scene of its index in the build.
1
    SceneManager.LoadScene(0);
Find the build index by
1
2
3
File
    - Build Settings
        - Scenes in Build
Invoke Methods With Delay
Sometimes you want to call a method after waiting for some period of time. In such cases, call the method using the Invoke:
1
2
    float delay = 1f; // in seconds
    Invoke(nameof(MethodToCall), delay)
ParticleSystem
Particle System are cool and cannot be summarized in one paragraph. Play around with it :)
Use Gizmos to control what you see in the scene and game scene
Using The FindObjectType
Unity provides the FindObjectType() method in case you can access a method using its type. If its one of a kind you can get it, else unity will get the first one. Usally comes in handy when you have custom script classes which are used at only one places or singletons. Use it to call public methods on other classes, example
1
    FindObjectOfType<PlayerController>().StopMoving();
Public Modifiers and Serialize Fields
if you want to expose a field in the Unity Inspector you can either mark the field as [SerializeField] or you can make it public. Both of these will help you access the field in the inspector. However one down sight of making the field public is that you can accidentally change the fields from other classes :)
Triggring Sound Effects:
Sound effects in unity are created using AudioSource. The main camera has the ```AudioListner`` which listens to the audio source. In a game object if you have the AudioSource you can get that component using
1
    GetComponent<AudioSource>();
Attach an AudioClip AudioClip in the AudioSource component and enjoy. Or you can get the audio source component and assign the audio clip manually using the [SerializeField] attribute.
1
    GetComponent<AudioSource>().PlayOneShot(audioClip);
Putting Them All Together:
Now that you have learned the above concepts, here is how you can attempt to make a small snowboarding game (assuming you have the sprites):
- Create a 2D Unity Game Project:
- Start by creating a new 2D Unity game project.
- Design the Mountain:
- Use a sprite shape to create the mountain terrain. Open the shape and design the terrain as you like.
- Add an edge collider on the terrain for collision detection.
- Import Sprites:
- Import the necessary sprites for trees, player, clouds, rocks, etc.
- Create the game environment by arranging and placing these sprites.
- Create the Player Object:
- Develop the player object with its associated sprites.
- Attach a rigid body and colliders to the player for handling physics interactions.
- Terrain Features:
- Add a surface effector to the terrain for the movement.
- Player Controller:
- Implement player controller scripts to control the speed of the player and to handle mid-air rotations.
- Collision Detection:
- Add scripts for collision detection to manage crashes, finishing, and reloading the level upon completion.
- Enjoy Your Game:
- Once all these components are integrated, you will have a functional snowboarding game.
- Fine-tune the game elements to achieve the desired gameplay experience.
